
After discovering the wonders of Cloudflare Pages and tinkering around a bit, I was hooked.
With the very straightforward "deployment pipeline" I could setup for each of my static NuxtJS websites, I made the move. I shifted all of my NuxtJS static websites over to Cloudflare Pages.
Not sponsored, just a fan 😁
This article is not sponsored by or affiliated with Cloudflare. They just make really awesome products, and give a very generous free plan to people. And I like free.
What is Cloudflare Pages?
In case you have not heard about this newer amazing product from the folks at Cloudflare, Pages are a near effortless JAMstack platform to deploy static Git based websites.
Here's the gist:
- connect your Git account (GitHub or GitLab)
- select your repo to deploy
- set your build steps (aka generate the static site)
- get a live static website at "your-site-name.pages.dev"
Use Cloudflare Pages (for free)
To actually deploy any repo, you will need a Cloudflare account. If you don't already have one, you will can signup for one. Don't worry, it's free. Like actually free. Like no questions asked free.
Once in your Cloudflare account, navigate to the "Pages" page. (I know, this is like rocket science here.)
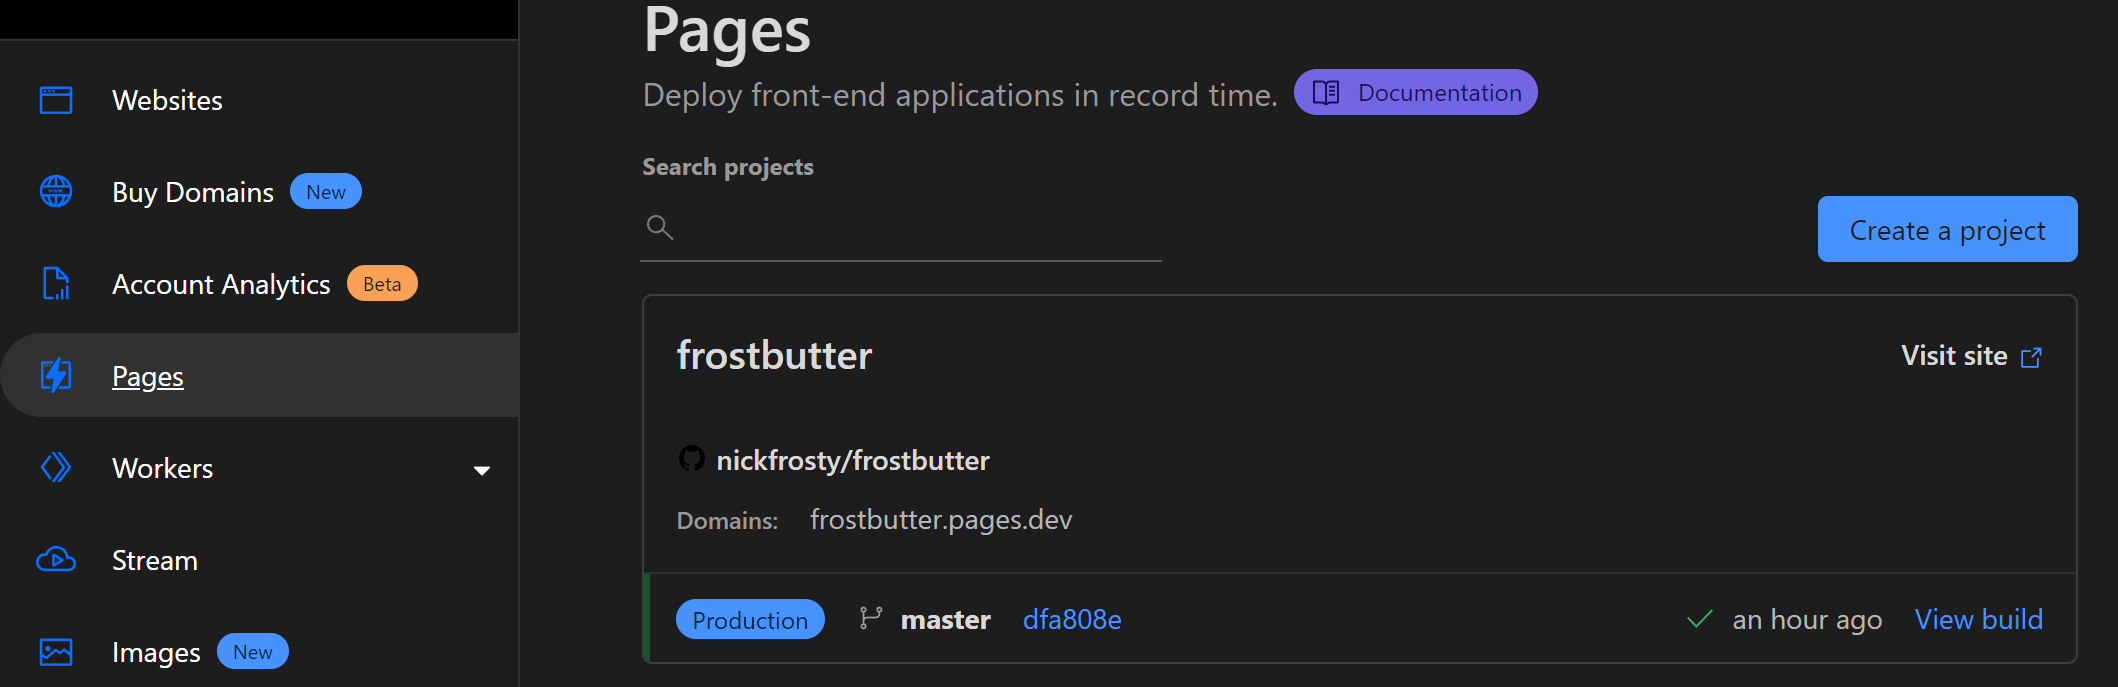
How to Deploy NuxtJS to Cloudflare Pages
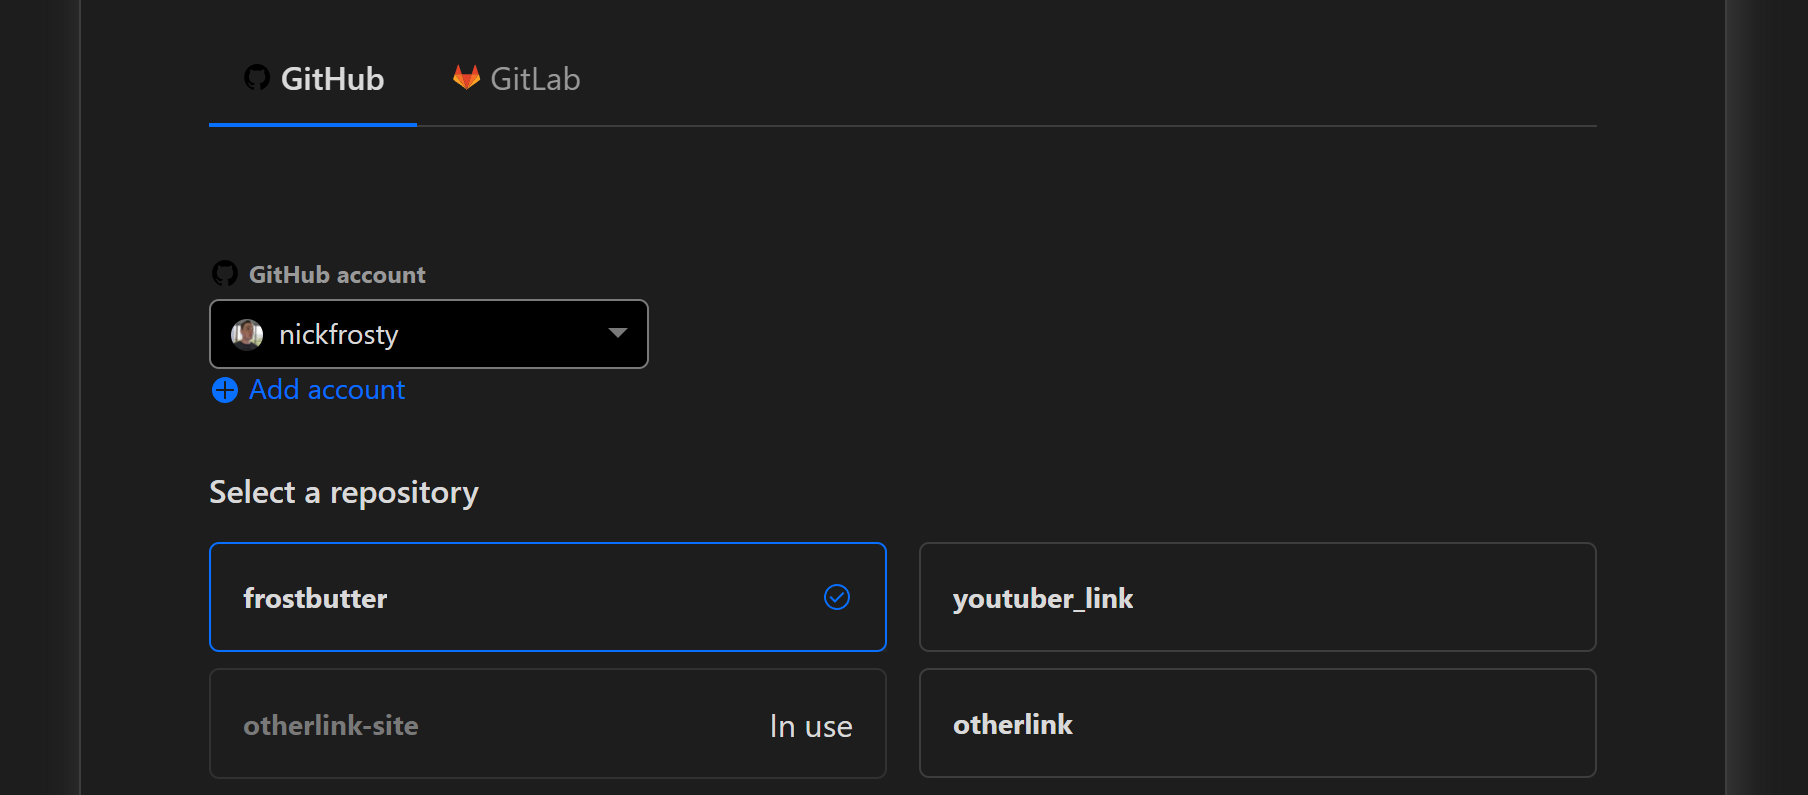
From the Pages window, select the Create a Project button. You will then be
able to connect your GitHub or GitLab account. Either allow access to your
entire account, or select the specific repos. You can even select the repos from
any of the organizations you are apart of.
Select the NuxtJS repo to deploy
From the list of repos, select the NuxtJS SSG repo you want to deploy. Then
Begin Setup.
Name your project
The project name you choose will automatically give you a *.pages.dev url to
access the production builds of your NuxtJS SSG site.
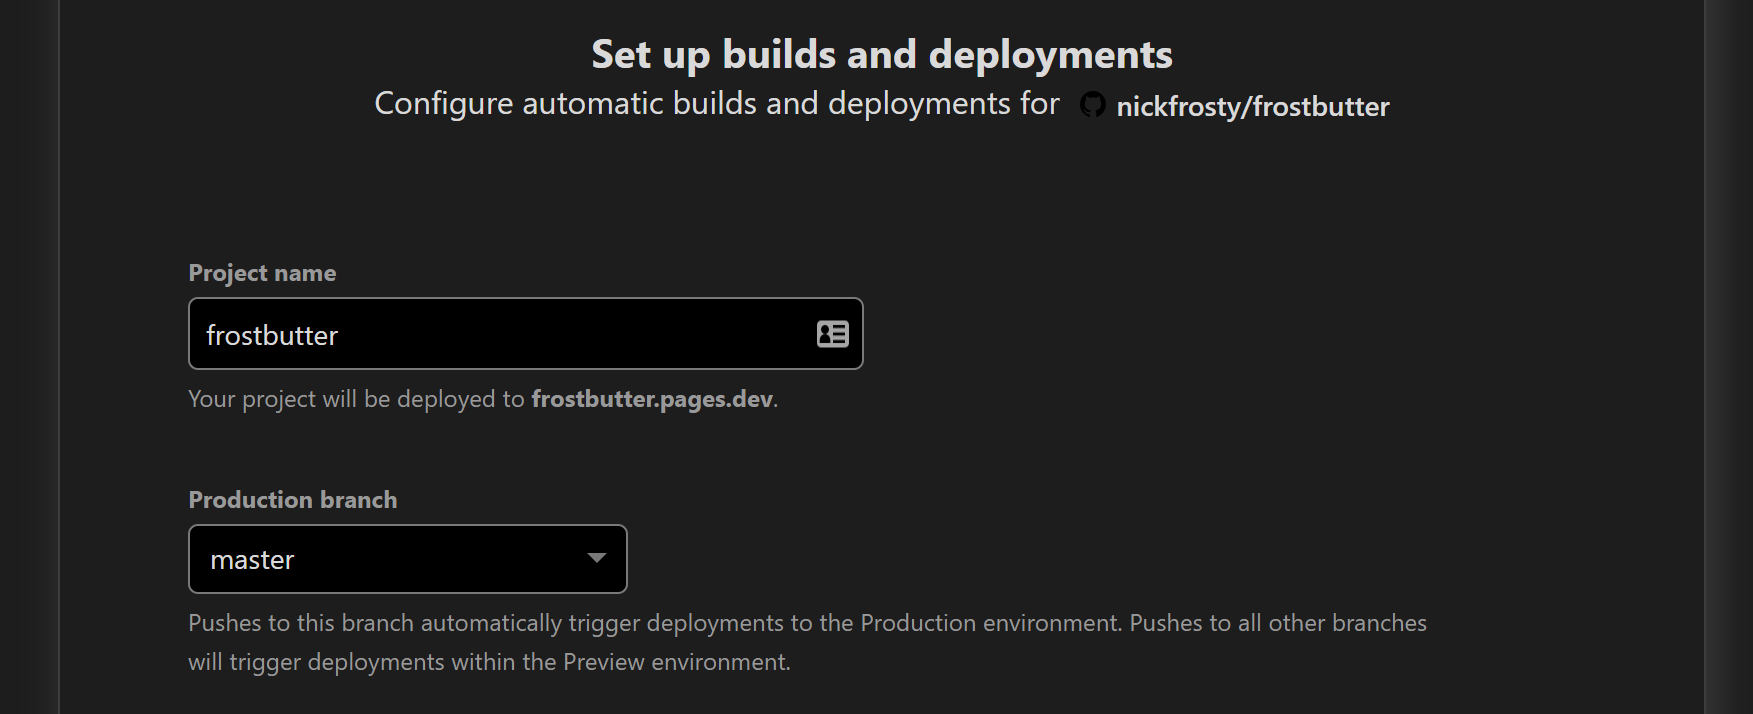
Select your repo's "production" branch
Next, select the "production" branch for your NuxtJS site. This can be any of the branches that your repo has. It is likely "master" or "main". Any pushes to this "production" branch will automatically build your site, and deploy it to your site's domain.
At the time of me writing this article, Cloudflare does not currently allow removing this "pages.dev" url from the account.
This is because that "pages.dev" url will also allow you to view all your
preview deployments for your repo. And "preview" meaning any other commits
that are not on your production branch.
Enter your NuxtJS build settings
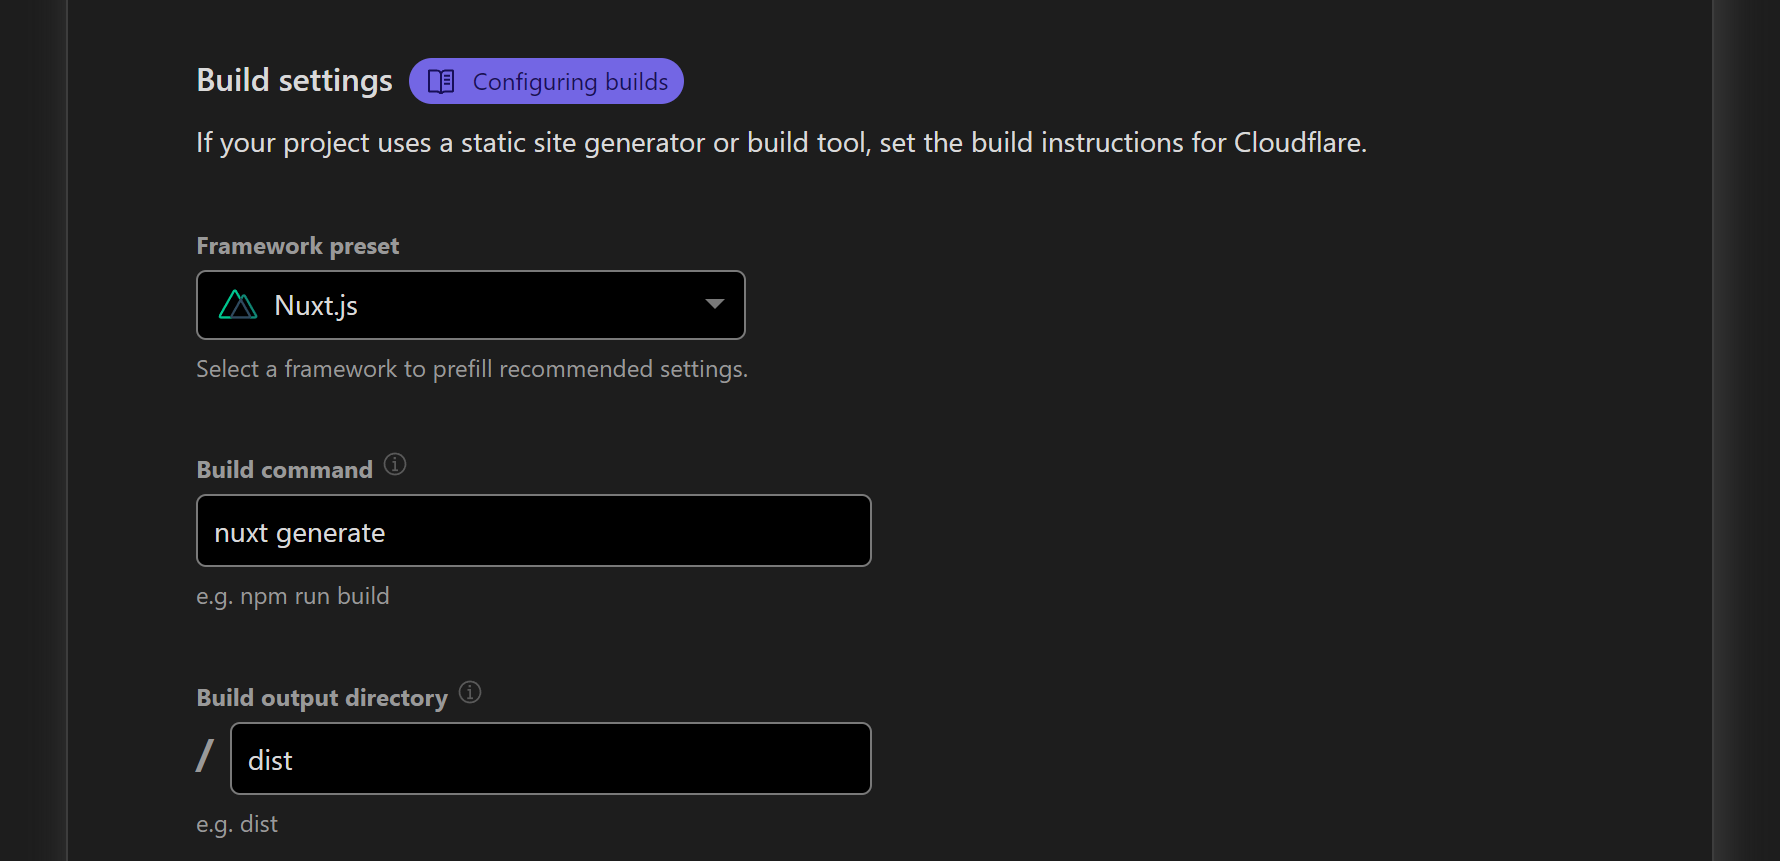
Inside of the Build Settings, select NuxtJS as the framework preset. This will
auto populate the build settings to use the default nuxt generate build
command, with a final output directory of dist. If you have manually changed
these settings for your Nuxt app, then just update these here. Otherwise, the
defaults are likely what you want.
Are you deploying a monorepo? No problem!
If you are using a monorepo setup, like I am for the nuxt-seo project, then you can also deploy that to Cloudflare Pages.
Inside the Build Settings area, click the Root directory (advanced)` link to
view the extra settings.
To build only the specific potion of your monorepo, like a "docs" site, then
enter the name of that directory as the path:

In my case of the npm nuxt-seo package, the
nuxt-seo docs site is located in the "docs"
directory. So my path is set to "docs" to only generate the static docs site
with Cloudflare Pages.
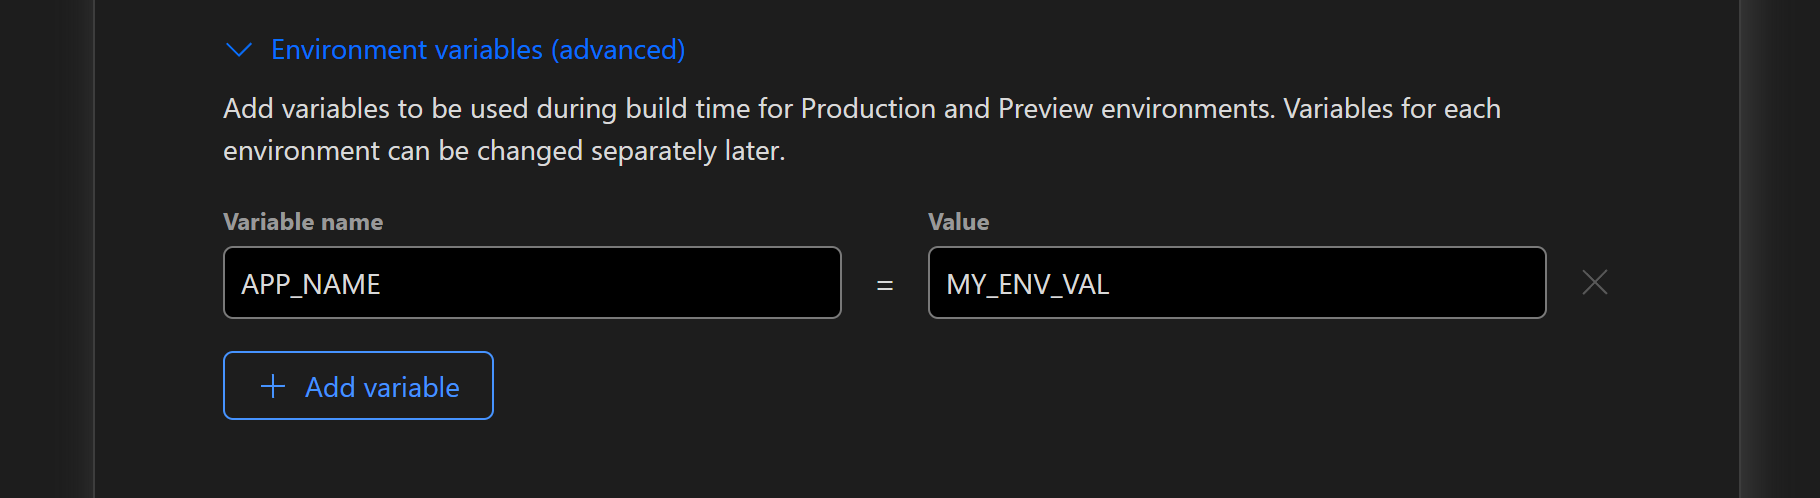
Nuxt generate with env vars
If you need to set specific env vars that affect your Nuxt SSG build, then you can enter them in Cloudflare Pages as well:
To read more about the specific ENV vars that Cloudflare automatically exposes, check their build configuration docs
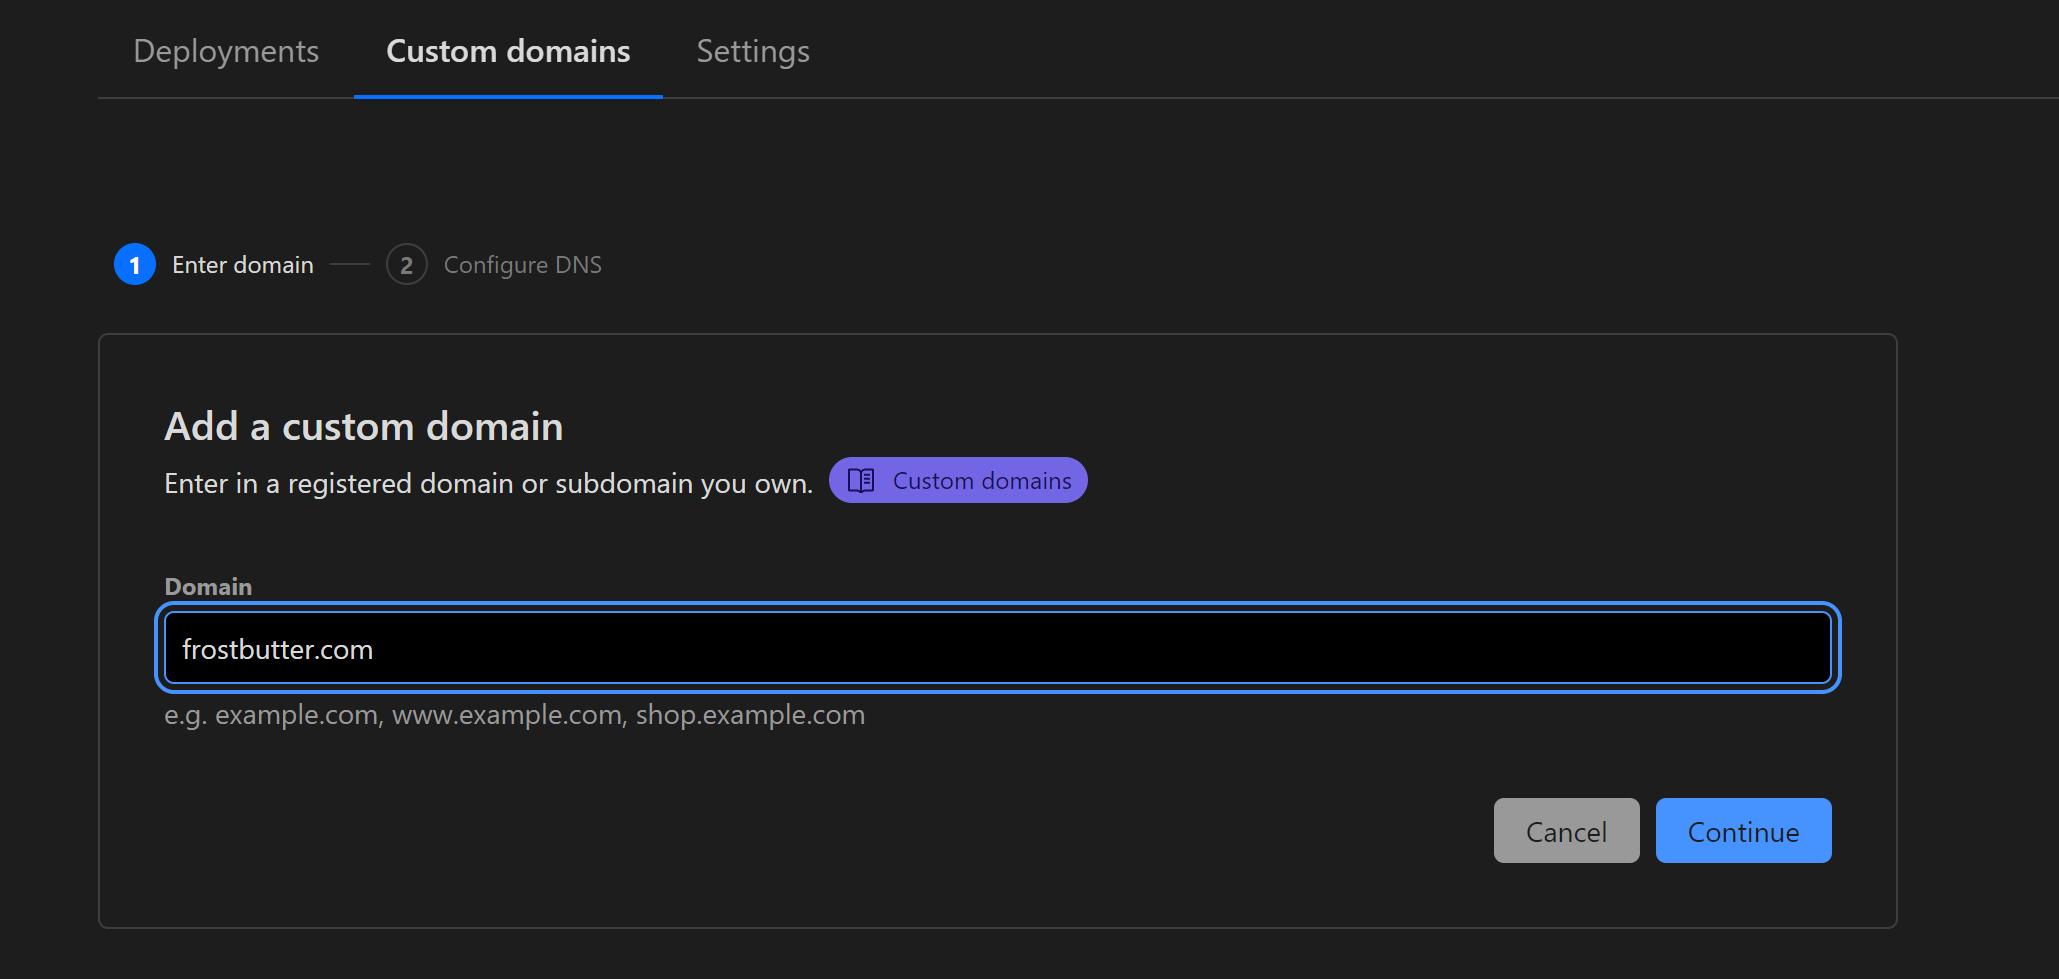
Set a custom domain for Cloudflare Pages
Once you have a successful build for your new Cloudflare Pages site, you can set a custom domain.
From inside the Pages manager in the Cloudflare Dashboard, navigate to the
Custom Domains tab. Enter the domain name you wish to use as your primary
domain for your Cloudflare Pages static site.
You will then be prompted to update your DNS settings, creating a CNAME record
for your custom domain.
If your DNS is already managed by Cloudflare, you can update the settings with
the one click "save" button. If not, then you will have to manually create a
CNAME record with your DNS provider.
My final thoughts on Cloudflare Pages
With Cloudflare Pages being still fairly new, I have run into a few issues with deployments. Sometimes I will get build failures. Most of the time, these failures were because of Cloudflare Pages using an older version of Node and NPM by default.
Fortunately, you can manually set the Node and NPM version using the build ENV settings, like I discussed above.
Sometimes the builds can be a bit slow, taking ~5-10 minutes to finish the build. But then again, it's free. So I am so very willing to wait for free 😁
With all that said: they are awesome, but still early on. I really like the way they are setup and how easy it is to setup an automated deployment pipeline for my static sites (including my blog here).